Getting Started
This page walks a new administrator from the first login through publishing a first policy and understanding what each menu entry in the portal is for.
1. Sign in
Open the PolicyClue portal URL your IT team gave you. Enter your email to receive a one-time access code, or use the Single Sign-On button if your organization has enabled it.
2. Choose or create a tenant
Use the tenant picker in the left sidebar to select your tenant. A tenant is a self-contained organization: it has its own policies, matching rules, alerts, branding, and admins.
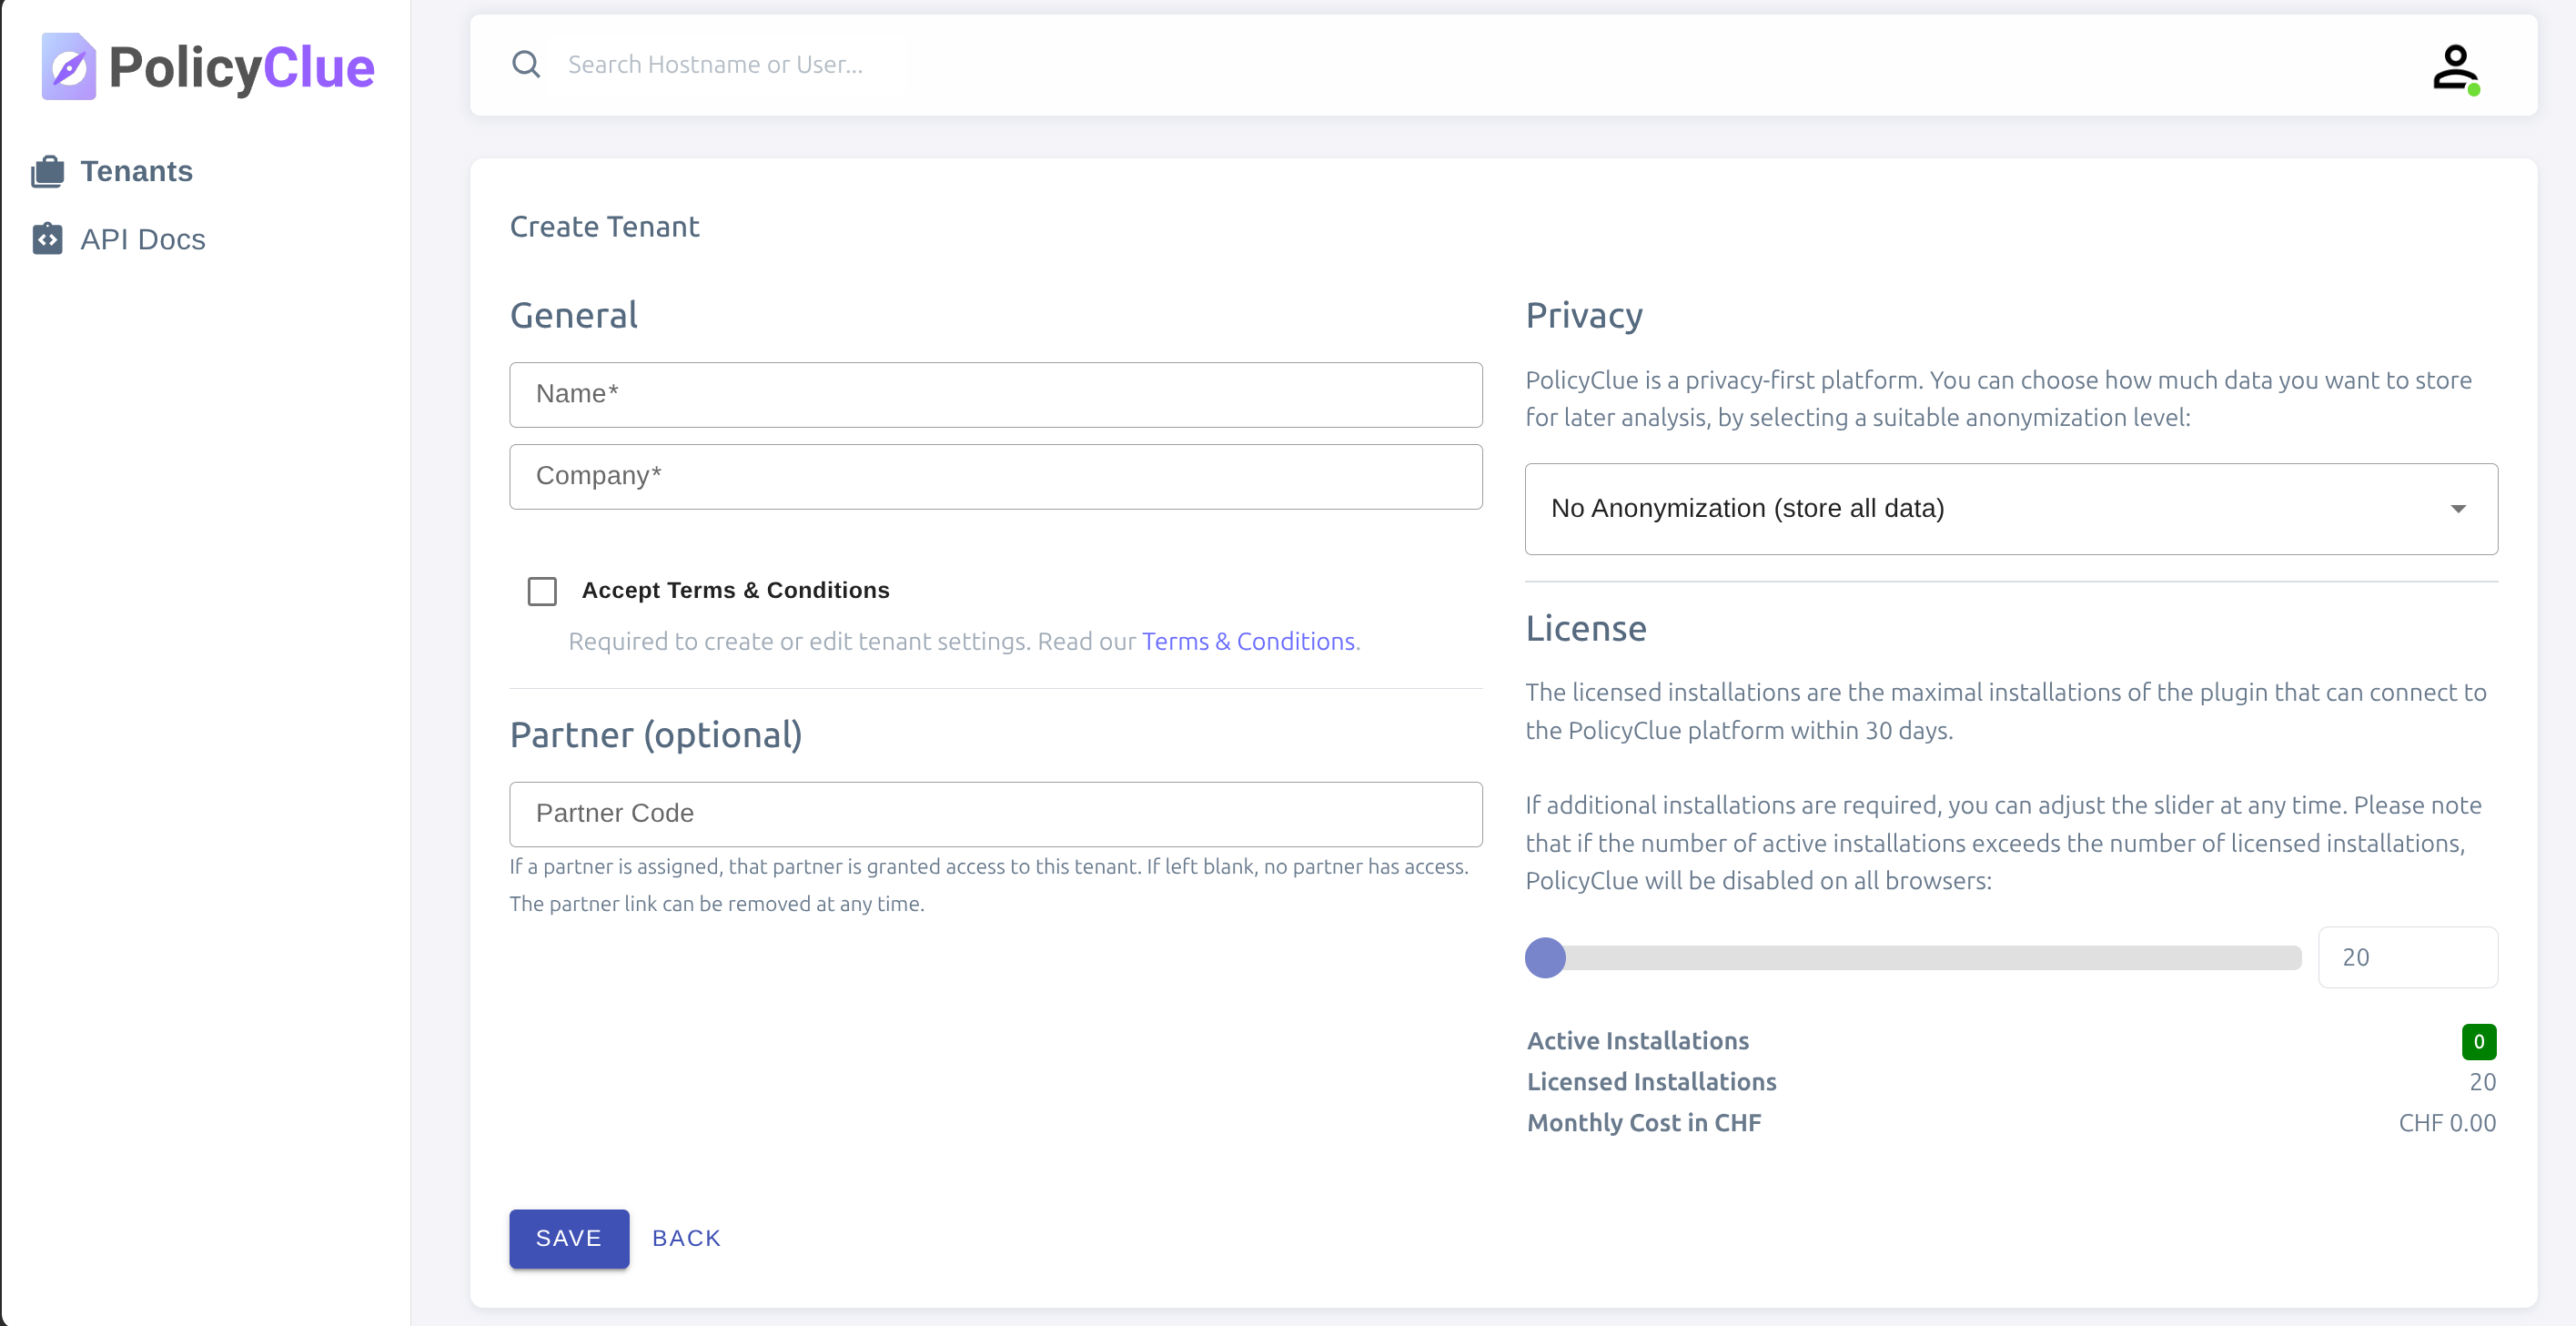
If you don't see a tenant yet, ask an existing tenant admin to invite you. If your organization is just getting started, open the Tenants area and select Create tenant. Enter a clear name and, optionally, upload a company logo. Most tenant details can be changed later without affecting existing policies.
3. Tour the portal
The left sidebar groups features by what you do most.
- Home — high-level statistics and trends for the current tenant.
- Policies — create, enable, and tune policies (the rules that decide where PolicyClue intervenes and how).
- Matching Rules — reusable domain and URL sets that policies attach to.
- Alerts — investigate policy hits, DLP detections, phishing reports, and other events.
- Awareness, Governance, Security, Phishing, DLP, Breach & Attack Simulation — module-specific dashboards. Only modules your tenant has subscribed to appear here.
- Admins — invite or remove tenant admins and set read-only access.
- Branding — customize the popup appearance (logo, colors, styles).
- User Texts — override the built-in warning wording per language.
- Webhooks — forward alerts to external systems (SIEM, ticketing, chat).
- Privacy — Four-Eyes cleartext-reveal workflow for investigating masked data.
- Audit Log — a chronological record of who changed what in this tenant.
- Invoices — billing documents (if applicable).
Most tables in the portal support CSV export directly from the page. If your account is read-only, actions are disabled and marked accordingly. Page URLs are shareable — copy the address to send a specific view to another admin in the same tenant.
4. Invite admins (optional)
Open Admins. Invite colleagues by email and set read-only access if needed. Invited admins receive an email with instructions to sign in.
5. Create your first policy
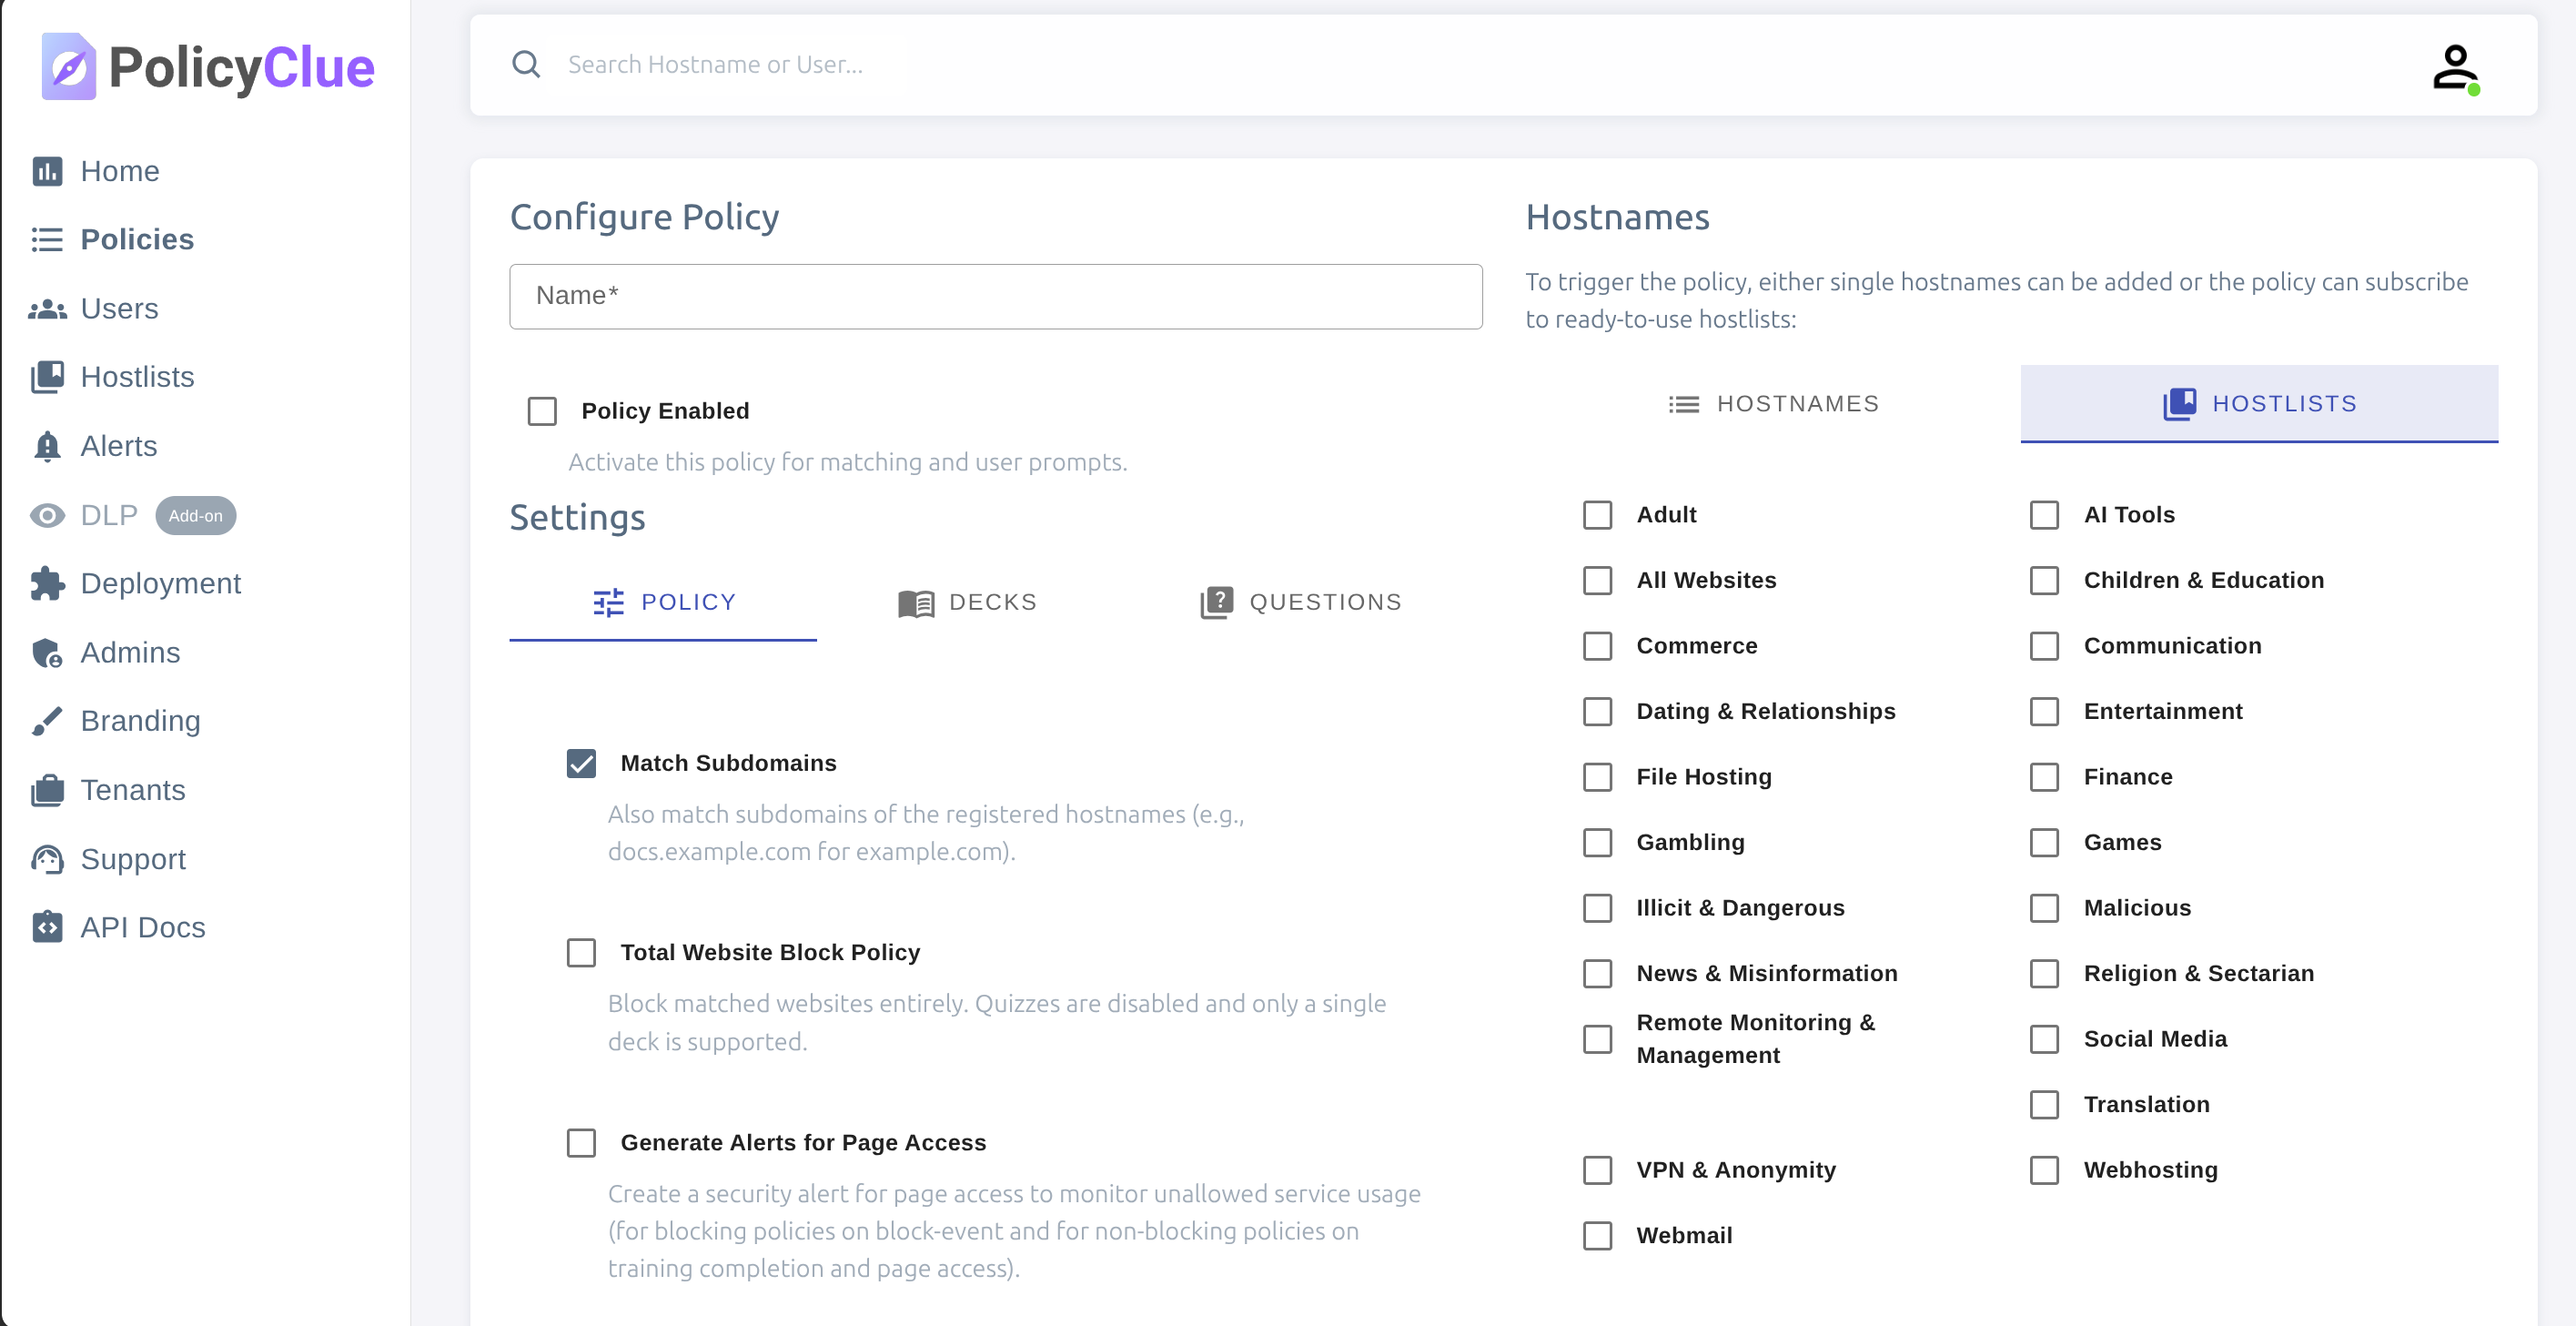
Go to Policies → Create Policy. Give it a descriptive name and a short purpose (so other admins know when it applies).
Configure:
- Matching: attach one or more Matching Rules that decide where this policy applies. To apply everywhere, attach the "All Websites" rule.
- Trainings: attach one or more Trainings on the Trainings tab. Trainings hold the decks and quiz questions users see.
- Intervals: how often a training reappears for a user who has already seen it.
- Enforcement: warn users only, or block the site entirely. Start with warn to build awareness before enabling blocks.
Save and enable the policy. Changes take effect the next time users' browser extension refreshes its configuration (within a few minutes).
6. Review alerts and activity
- Alerts — investigate policy hits. Use the platform filter to narrow to Browser Extension, Outlook Add-in, or Microsoft Teams.
- Audit Log — see recent administrative actions in your tenant.
- Home — high-level trends for the whole tenant.
Next steps
- Modules Overview — decide which modules to subscribe to.
- Policies → Settings Reference — full reference for every toggle in the policy editor.
- Matching Rules — build reusable domain and URL sets.
- Branding — adjust the look of the popup and button.